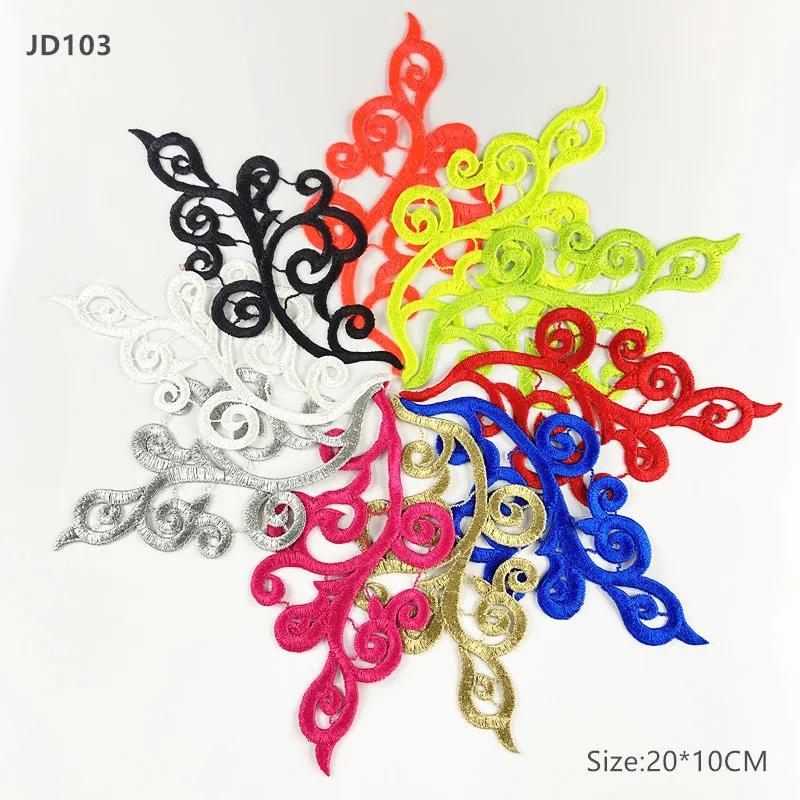
Acrylic Powder and Dipping Power - 2in1 Acrylic and Dip Powder nails Fall collection - Nude acrylic collection
Our 2Guys 2in1 Acrylic Powder System is developed to be used in both dipping and sculpting methods. It’s designed to create vibrant colors and strong adhesive. Our acrylic’s medium setting time and fine texture provide great workability to achieve an even-toned color, bubble free and smooth surface.
Size: 2 Ounces
Note: Product image is a swatch. Product image may differ from the actual color due to the screen you are viewing our website on. Dye lots may cause color variation.
Notpolish: Acrylic and Dipping Powder for Nail - 2in1 Nail Powder
Nude Collection - Fall Collection


Product featured:
2-way powder for nail design: can be used for dipping nails, building nail extension, or carving.
Easy application. Easy dry without a lamp.
New Powder Blended Technology allowing strength and durability for the client, while still maintaining the ability to self-level in application for the technician.
Perfectly blended so you can forget concerns over color clarity.
Non-toxic, no odor.
Description
Professional Clear Acrylic Powder for Nails
Can be creating fantastic crystal effect
Suitable to match with UV gel, acrylic, etc
Creating a long lasting beautiful natural overlay nail tips
Acrylic Nail Powder Color: Clear
Content of Acrylic Powder: Approx. 1oz/28g
How to Use Nail Carving
1. Pour the right amount of acrylic liquid into the glass
2. Right amount of dip acrylic liquid with brush
3. Then dip suitable amount of the acrylic powder
4. Stick it to your nail and carve desired shape
5. Apply top coat and cure by UV LED lamp
How to Use Nail Extension
1. File and clean the nail surface
2. Apply primer and air dry
3. Put nail form on your nails
4. Right amount of dip acrylic liquid with brush
5. Then dip suitable amount of the acrylic powder on nails and air dry
6. Remove the nails forms
7. Trim the nail shape
8. Apply top coat and cure with UV LED lamp
How to Use Nail Decorations
1. Finish nail base color
2. Right amount of dip acrylic liquid with brush
3. Then dip suitable amount of the acrylic powder and put on nails
4. Put the nail decorations and adjust the position
5. Fill the gaps of nail decoration with acrylic powder and air dry
6. Apply top coat and cure with UV LED lamp
P.s.
No curing is required during the production process
Final coating layer needs to be cured by UV LED lamps
Available in the following sizes.
10g
20g
30g
40g
50g
100g
Each 10 gram bag will cover approx. 6-8 manicures.
Coverage will vary based on usage and length.
Available in many colours, shimmers, glitters as well as chunky glitters. Our glitter powders are formulated to use as is or layered over a color of your choice. My acrylic powder can also be used with traditional liquid monomer or uv/led gel. Dipped nails won’t chip and can last anywhere from 2-4 weeks depending on how quickly your nails grow out.
Purchase a complete set of 1oz or 2oz and save up to $20.00 plus receive a complimentary 3-part dipping solution set (a $10 value) ♥?
Since we can never find good matching nude tones that are not pink (don`t get us wrong, we still love pink so much), we decided to curate a set of six brown nude colors that suit you ladies with medium skin tone. In addition, we added different shades to our powder so that they can complement not just different skin tones but also undertones.
Regardless of whether you have warm (peach to yellow), cool (pink and blue), or neutral, you will find your shades. It`s just like finding the perfect foundation, but for your nails
Not to worry, if you can`t find the right colors yet, we will be launching more colors in the future.
Thatch - an earthy color that we are obsessed with and super trendy - great for cool and neutral understones
Tan - not exactly the tan that you`ll get; has an orange tint - great for warm undertones
Sandal - the deepest brown shades in this set - great for warm and neutral undertones
Bronco - the grayish color that deserves its own spotlight - great for cool undertones
Brandy - a shade lighter than Tan, but pinker - great for anyone
Our powder is 9-free, and does not contain any MMA, so you can have peace of mind working with our powder.
*Some settling may occur. Please shake well or rotate the jar before use to ensure an even color distribution.
Acrylic powder for creating fantastic crystal effect.
Suitable to match with UV gel, and acrylic, etc.
Creating beautiful nail for long lasting sparkle nail tips.
Professional Nail Art Tool for Nail Technician.
Suitable for professional, nail salon, nail art school / college, nail art artist and personal / home use, wholesale, etc
Designed to work together, chemically Acrylic System was created with exact particle blend technology that gives you flawless consistency and superior adhesion.
Speed Powder Begins to set in 60 seconds.
Core Powder Begins to set in 90 seconds.
Cover Powder Begins to set in 75 seconds.
How To Apply Acrylic Powder For Nails
Step 1: Get the right tools
The first thing you need to do before you start your manicure is to make sure that you have all the necessary tools. This includes nail clippers, files, cuticle pushers, buffing blocks, cotton balls or pads and an acrylic nail powder in your preferred color.
Step 2: Remove existing polish
The first step in applying acrylic powder is to clean the nails with acetone to remove any residue from the last application or nail polish.
Step 3: Buff nail
After you have cleaned the nails, buff them to remove the shine. This will help the product hold better to the nail. Once you have buffed wipe away the nail dust with acetone.
Step 4: Apply nail tip (optional)
If you are going to apply your acrylic nail powder on a nail tip now is the time to do so. Apply the nail glue to the nail and then press the nail tip down, holding pressure for a few seconds (roughly 10) until the nail tip has stuck.
Using tip cutters clip the nail to the desired length. Then shape the nail with a file.
Step 5: Dip brush into the monomer
The monomer is a liquid that is used in acrylic powder to help it stick and harden.
Dip your nail brush into the liquid and remove the excess liquid so it is wet only at the tip of the brush. Dip the brush into the acrylic nail powder and collect enough powder to make a ball of product that will cover the entire nail. Let the product become glossy before placing it on the nail.
Step 6: Apply acrylic product to the nail
Place the bead of product near the cuticle (but not on the cuticle) and work the product up towards the tip of the nail. Spread the product with the brush. If the acrylic is not pliable enough dip your brush again into the monomer and it should help.
Step 7: Let the acrylic nail dry
Wait about two minutes for your acrylic nails to dry. Dry nails should make a click sound not a hollow sound when tapped.
Step 8: Finish the nail
After the product is dried file the nail and buff the top if necessary, then seal with a topcoat.
Wholesale and drop shipping are both welcomedFor wholesale, we will offer discount or upgrade to express shipping which only takes 5-14 business days to arrive.For drop shipping, we could send the goods to your customers directly and won`t leave INVOICE and store information per your request.
Shipping:For Russian Friends:Please fill in your full name including first name, middle name and last name when making the paymentOrders will be shipped to buyer`s 해외 address in 2 business days.
N oraml delivery time:USA 25-35 working daysUK/ Canada/ Australia 25-35 working daysEurope 30-40 working daysRussia 45-65 working daysBrazil/ South America 45-65 working days
International Buyers - Please Note:
Due to different policies in different countries, there might be customs tax that should be paid by buyer.
5 Stars Feedback:Please leave 5 Stars feedback with good comment and nice buyer show if you are satisfied with our products and services.Pease DO NOT leave 1 Star 2 Star feedback without asking help.
If you have any problems, please contact us, we will do our best to solve problems and provide you with the best customer services.
Acrylic powders combined with acrylic liquid monomers are perfect for French nails, acrylic nails, sculpted flowers, nail extensions, and nail decorations. You can mix different colors to create your own style with this multi-color set.
HOW TO REMOVE ACRYLIC NAILS
Polish the nail surface with polishing files.
Soak the nails with nail remover wraps for about 5-10 minutes. (Or apply nail polish remover on cotton and apply on nails.)
Remove the nail polish with a cuticle pusher.
Clean the nail surface with a nail brush.
Wash your hands with soap and water.
TIPS
Please avoid prolonged contact with skin and read the instruction carefully before using this acrylic powder set.
Acrylic powder is used with acrylic liquid monomer, please order acrylic liquid monomer (any brand) at the same time. The powder will show the real colors when they are combined with the liquid monomer.
Try not to use too much acrylic liquid versus the acrylic powder ratio, as extension nails would be hard to dry.(NOTE: A well-balanced liquid to powder ratio is 1.5 to 1, respectively).
Try not to apply a too-thin layer, as it is hard to shape and easy to crack. You can file or shape the nail extensions to get a thin effect.
Apply the acrylic bead from the top of the nail (near the cuticle) to the tip. Sculpt the bead by pressing the brush flat to your nail and gently spread it out evenly.
?【VIBRANT COLOR & FANTASTIC LOOK】This nail acrylic powder set has vivid colors and can bring unlimited joy to your life. This set is a combination of solid vivid colors and super glitters. The glitter acrylic powder has the shapes of stars, hearts, circles and butterflies.
?【SUITABLE FOR ALL NAIL DESIGNS】nail acrylic powder color is made of healthy ingredients and is suitable for all nail extension, french nails, acrylic nails, fixed nails and nail art, such as 3d nail art design. It has the function of repairing and protecting natural nails.
?【HIGH QUALITY & LONG-LASTING】 The high quality acrylic nail powder kit can provide you with perfect consistency and superior adhesion. Nail styles can last longer on the nail surface, and the colors are saturated and showy, making you more elegant and charming. This is the best gift for your lover.
?【HEALTHY & NO NEEDED NAIL LAMP】acrylic powder nail kit is made of advanced healthy formula, no animal testing, 11-free, will not cause any discomfort to your precious nails, and is friendly to nails. acrylic powder colors system no need nail lamp.
?【WARM TIPS & BEST SERVICE】Please notice that colored acrylic powder will work differently when they work with different liquids. If you need any after-service, please do not hesitate to contact us. Stop using immediately if any discomfort or allergy occurs.
ACRYLIC POWDER
Size: 1 oz. | 28 g.
Shade: Orange, Cream
Snap your fingers and ‘Enchantress’ will have everyone falling under your spell with this warm, tangerine color on your nails.
Collection: Nake Color Acrylic Collection
Dare to get new acrylic collection, NAKED COLOR! This long-awaited collection consist of 45 new colors that range from delicate champagne, shimmery nudes to deep red matte with micro shimmer are just to name a few.
Each shade leaves a smooth, even finish and lasting color with our advanced acrylic formula that is blended with ultra fine pigments.
Never get bored again and have a world of exquisite possibilities right at your client’s fingertips!
Made in the USA
INSTRUCTION
How do I apply acrylic powder?
Before applying your acrylic powder, be sure to properly prep the nail bed by removing any polish and wiping it with acetone.
At this point, you’ll decide whether or not you’ll be applying the acrylic powder directly to the natural nail or if you’ll be attaching a nail tip.
Next, you’ll buff away the shine on the nail plate and apply bond and primer to the entire nail bed to prevent lifting after application.
Once you have acrylic powder of choice, be sure to roll the jar to properly disperse the powder.
Next, dip your brush into the monomer. You’ll want to “burp” the brush and wipe off any excess so that all the liquid will sit at the end of the brush. Now, gently lay the brush tip into the surface of the powder and gather enough powder to apply to the entire nail for a single bead application.
Once on the brush, allow the bead to look completely glossy before you begin placing it on the nail. When working with bead start a hairline away from the cuticle and move toward the free edge of the nail. When applying the acrylic, spread and tap it into the nail using the body of the brush and you can dip into monomer, if needed, during application to increase pliability. Be sure to tap lightly to allow for a smooth and flush application, this will help cut down on your filing time as well.
Allow the acrylic to dry completely, you can tell this by tapping the end of your brush on the nail until you hear a slight clicking sound.
Once dry, hand file the side walls and then go in with an e-file or buffer to smooth out the top of the nail. Once you are finished filing, simply apply a polish top coat over your color acrylic.
Can you form with acrylic? If so, how?
Yes, you can definitely form a nail using acrylic powder. This is a great way to apply acrylic on short, bitten nails or you can use it when doing intricate designs using your acrylic powders to create a glass effect on the bottom of the nail.
To begin, properly prep the nail plate to prevent lifting. Using a fine-grit sanding band on your e-file, barely kiss the nail plate to remove the shine.
Apply bond, let dry, and then apply primer, both will go directly on the nail plate.
Next, you will begin applying the form, line up the middle of the form and slowly rock it backwards to slide just underneath the free edge of the natural nail. Pinch the sides and bottom of the form to secure it in place. Depending on the shape of the nail, you will either leave the form open or pinch the tip of it shut.
Now the acrylic application begins! Take your acrylic color of choice and roll the jar to properly disperse the powder. Dip your brush in the monomer and remove the excess liquid before picking up a small bead of acrylic to apply to the point where the free edge of the nail and the form, meet.
Now, begin building the free edge of the nail by picking up a bigger bead and using the body of the brush to manipulate the powder, as needed.
Once the free edge is formed, pick up another, slightly smaller, bead and apply it directly to the nail plate. Use the tip of your brush to push the product in near the cuticle and then use the body of the brush to work the product up the nail and toward the free edge. You’ll want to leave the apex of the nail slightly thicker, this is where you’ll want some extra strength because it is the stress point of the nail.
Now, you’ll begin forming the c-curve while the acrylic is still, slightly malleable. Pinch the sides of the formed section of the nail to create the curve. You can do so by using your fingers or a pinching tool, be sure not to pinch near the actual nail plate.
Allow the acrylic to dry completely, you can check this by tapping the end of your brush on the nail until you hear a slight clicking sound.
Once dry, remove the form by pinching and pulling it out from beneath the nail.
Lastly, file and shape the side walls and clean up the cuticle with an e-file before applying your favorite top coat.
How do I remove my acrylic?
Removing acrylic powder can be done a number of ways, some easier than others. Two of the most common ways to remove acrylic are by e-filing the color down to the acrylic base so you don’t have to rebuild the entire nail or soaking them off with warm acetone. You can warm the acetone by running the bottle under hot water and it will soak through the hardened acrylic powder much easier. Do not microwave the acetone or put it anywhere near a direct heat source because it is extremely flammable.
To begin, clip the tips from your acrylic nails down to a short length.
Next, file away the top coat on your acrylic. For this you can either use an e-file or a buffer, whichever you prefer.
Now, soak a cotton ball in the warm acetone and apply it directly to the top of your nail, covering what’s left of the acrylic, and wrap the individual finger in foil. You will repeat this step on all of your nails and let them soak for 20-30 minutes.
Upon removing the foil, wipe the nail with the soaked cotton ball and all of the acrylic should come off with it! If you see any remnants of the acrylic left on the nail you can simply buff them away before you begin filing and shaping the natural nail. Now that you’re acrylic is completely removed you have a fresh canvas for your next set of acrylics!
Please Note
The colors on the website were designed to come as close to the true color of the polish as possible. Because of monitor settings, we can’t guarantee an exact color match. These colors are made to be a representation of the true color.
Acrylic Nail Ideas
If you want to draw attention to your hands, one of the easiest ways to do this is with acrylic nails. They are created using a mix of liquid monomer and powder and then shaped onto your natural nails, but the best thing about acrylics is their versatility. You can experiment with various lengths and shapes. Longer nails elongate your fingers, but they also allow for gorgeous nail art. If you are a woman who loves to change up her manicure and wants something modern and fun, consider colorful french manicures, and sweet tooth-inspired designs. Or you can keep it simple with looks like dreamy pastel lacquers and neutral swirls. There is something to suit every personality and style, so you can bring a smile to your face or make a powerful statement. Keep reading to find all the inspiration you need for your next acrylic nail manicure.
Contents show
What are Acrylic Nails?
Acrylic nails are false nails created using a mixture of powder monomer and acrylic liquid that hardens when exposed to air. These artificial enhancements are placed over your natural layers, allowing you to achieve stronger, more durable nails that can be created in various lengths and shapes. Whether you want nails that make a statement like stiletto nails or coffin nails to simple, more wearable options like oval nails or square nails, you can achieve these with acrylics. Another pro of acrylics is that they lend themselves well to various nail art. This lets you experiment, have fun, and express yourself. The application process is simple and should cause no discomfort.
Acrylic Nails Trends And Designs
Acrylic Nail Shapes
You can create the perfect nail look that suits your style with the shape of your choice. Almond nails, coffin nails, square nails, and oval nail shapes are popular options. However, there are also new trendy styles like ‘lipstick’ and mountain’ nails. The best nail shape, of course, is in the eye of the beholder, so take this opportunity to experiment with your style and express yourself through your gorgeous nails.
Nail Shaps
Acrylic Nail Designs
1. Oriental Nail Design
The East has long been an inspiration for fashion and beauty, so it is not surprising that oriental nail design is one of the hottest looks. The style is often defined by bright colors and details and could feature one or several popular images. For example, a dragon on one fingernail, patterns on another, and a cherry blossom or lotus. The combination makes for beautiful and striking artwork that is bound to get your hands noticed. Feel free to experiment with different colors and prints for a look that you love, celebrate your heritage, or honor the East as a source of creative and artistic inspiration.
2. Soft Pastel Matte Ombre Nails
Soft pastel matte ombre nails are the perfect look for a woman who wants something subtle and pretty yet modern. Pastel shades are timeless and are used every year in fashion and beauty. They are easy to wear and have a feminine and dreamy quality to them. On the other hand, ombre is a way to have some fun by blending two colors, one light and the other slightly darker. This creates an interesting finish and gives your standard manicure a twist.
3. Bandana Inspired Nails
Fashion has long inspired nail art, and both are a wonderful way to express your personality and showcase your sense of style. Bandanas are used to hold the hair back in a stylish way, and in addition to being super practical, they often come in a range of colors and with paisley prints. If you want nails that stand out, then this is a great choice. You can stick to a single color scheme or decide to paint each nail with a different shade, creating a lovely mix and match effect.
4. Girl Power Nails
Your nails play an important role in your overall appearance, and it is a way to express yourself and the things you love. Girl power nails provide the opportunity to celebrate what it means to be a woman. It encourages female empowerment, independence, and confidence, and it makes an important statement. The fantastic thing about this artwork is it can be simple, with just two different colors and minimal detailing, or you can add diamanté, glitter, or fun decals. This slogan celebrates togetherness and shows support for women worldwide, so you do you, girl!
5. Unique French Manicure
White tips define the classic French tip manicure; if you are a woman who loves color and wants something a little more modern.
acrylic nail ideasacrylic-nail-designs-latest-fake-nail-ideas-nail-art-seasonsHey beautiful! Getting those perfectly shaped nails is indeed a time-consuming task! When you are running short of time and still want your nails to express your personality, then acrylic nails are the best idea! Whether you have good long nails or shorties, if you want to make them look prettier acrylic nail ideas are for every nail art lover. From different acrylic nail color ideas to seasonal acrylic nails to how to do them at home, we’ve covered it all!
Acrylic Nail Color Ideas
Acrylic nails add a natural length to the existing nails and bring out your creative side while making them look more attractive. There’a lot to choose from in our list of acrylic nail ideas. Be it any occasion you can have the perf nails complementing your outfit.
You can either match the fake nails with the color of the outfit or go contrast! Colors like grey, ivory, tan, white are good for your regular days and on special occasions, it’s all up to you to play around with the acrylic nail designs, be it glitter or rhinestones.
Cute Acrylic Nail Designs by Color
While millions of acrylic nail designs are available, choose the one that attracts you and make it your go-to nail design. Check out the acrylic nail designs by color below!
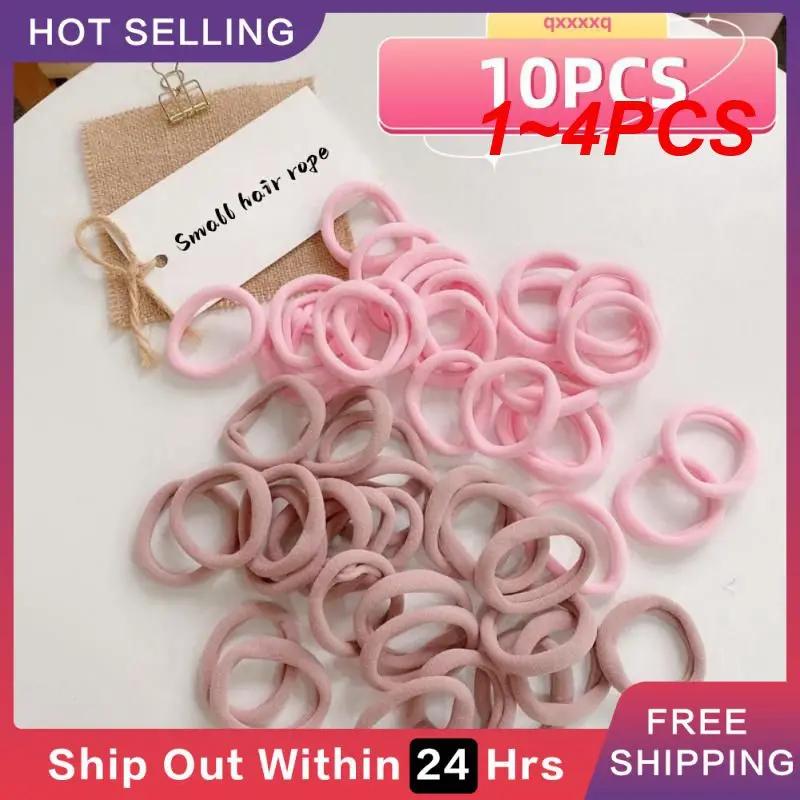
Pink Fake Nails
Hot pink, rose, fuschia and blush are the best shades of pink to adorn on a daily basis. You can just pick the acrylic nails with the single shade of pink and you can add rhinestones or sparkles on them to make them look more attractive.
pink-fake-nails-acrylic-nails-color-ideas-designs
Red Acrylic Nails
A must try for romantic date nights, anniversaries or prom parties! It’s always better to buy the nude or plain acrylic nails so that you can be creative and do your own nail art on them. It is also a good hobby to start with! While colors like red, black, etc. are so evergreen that they go with almost all the outfits. Try shades of red like scarlet, lava and raspberry so that they match both party and casual outfits!
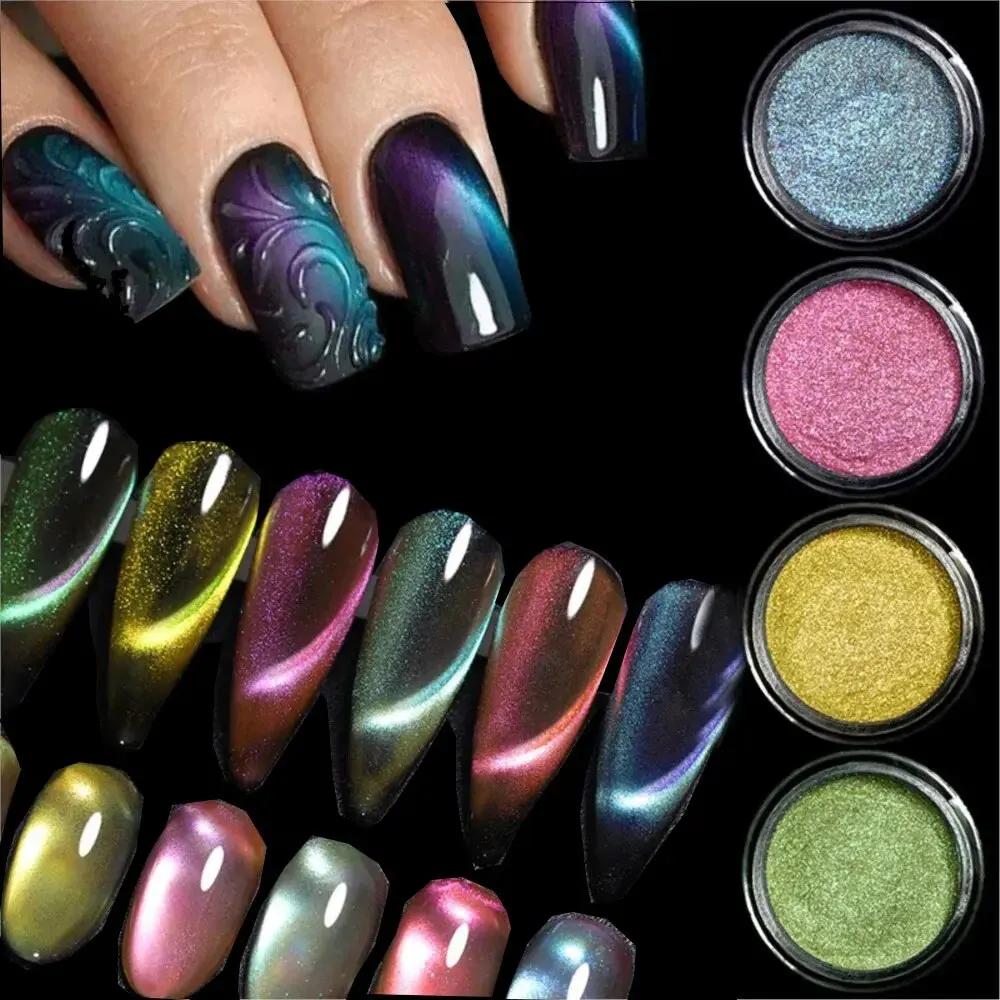
Metallic Acrylic Nails
From clothing to accessories to lip color, metallics are all over the fashion trends and sure enough, we’re seeing them in the acrylic nail ideas too! Pamper your nails with metallic colors to get that royal look. Try a metallic color on one of the nails and go for matte finished nail paint on the others. Or if you wanna really show off these glam nail trends, then go for metallic colors on all the nails!
Also read: How to Wear Metallic Shoes for Every Occasion
metallic-acrylic-nails-latest-nail-art-nails-at-home-fake-nails
Clear Acrylic Nails
There are multiple options to try in clear acrylic nails. You can either go for the crystal clear acrylic nails without any nail art on them. Or you can try the aquarium print ones or glossy ones with glitter on them.
clear-acrylic-nails-latest-fake-nails-trend-glittery-shimmery-nail-nail-art
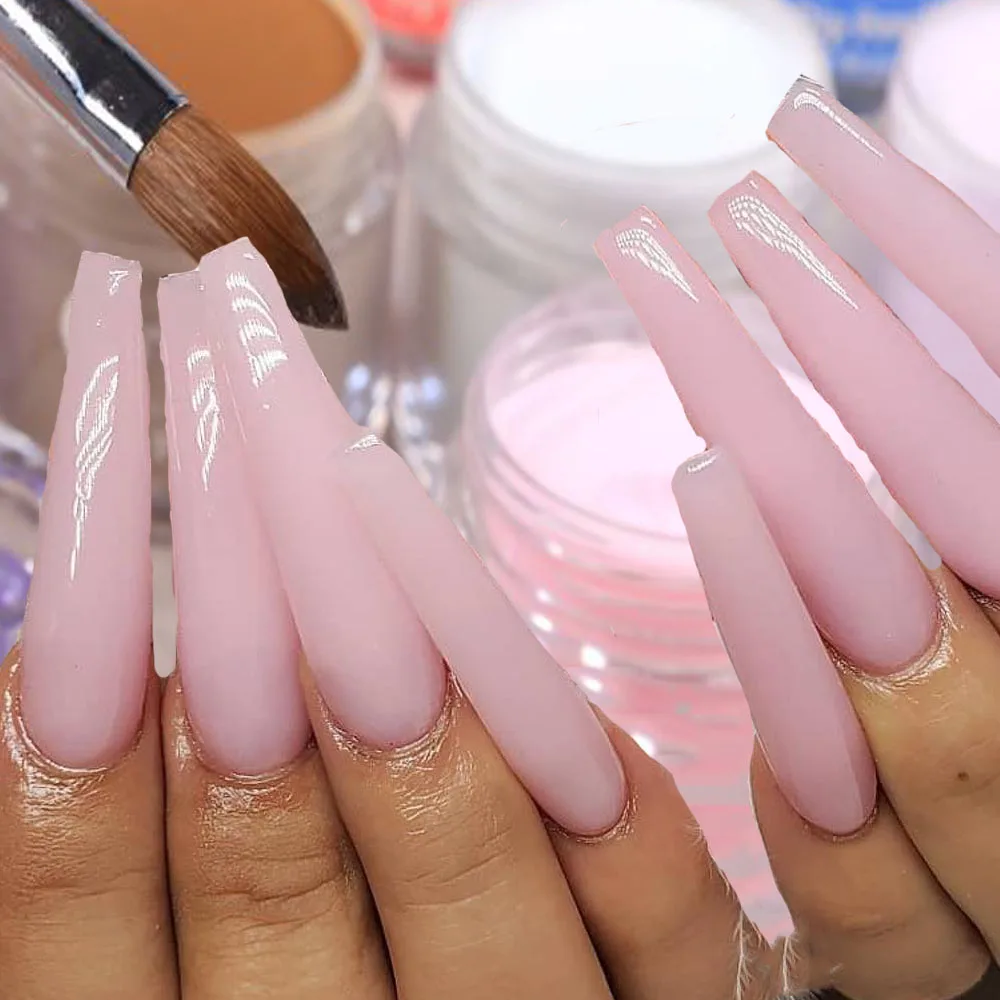
Nude Acrylic Nails
Nude acrylic nails are exactly the color of your nails but you be creative with them to make them look more interesting. Nude french tips, nude acrylic nails with a glittery finish or nude nails with silver rhinestones here and there are best ideas for nude acrylic nails. Perf for office ladies! Also, try nude shades like pumice, sand, coffee, mocha and beige.
Also check out: What to Wear to Work in Winter | 7 Easy Winter Outfits for Office
nude-acrylic-nail-ideas-acylics-nail-art-fake-nails-nude-color
Rose Gold Acrylic Nails
Match the color of your iPhone to the nails. The rose gold iPhone has made this color become even popular! From dresses to shoes to lipstick, and now on nails, rose gold color is not going out of fashion.
acrylic-nail-colors-ideas-latest-trends-fake-nails
Grey Acrylic Nails
Grey is a classy color that looks good with both casual and formal wear. When you have a series of events both at the office and at home, go for grey acrylic nails as they can be paired with most of the outfits. You can make them peppier by coloring just one nail in a bright color like rose pink, burgundy, etc.
Alo read: Best Burgundy Nails: 45 Nail Designs for Different Shapes & Shopping Ideas
French Acrylic Nails
Be it any shape of nails ? stiletto, almond, square or oval, french tips look well on all nail shapes. Go for lighter nail paint like peach, ivory, cream, snow, etc. From just at the nail tips to a little bit deeper, french tips size may vary. Acrylic nail ideas for party look include tiny floral designs on one of the nails or crystals at the nail cu


 배송기간
배송기간